Planting new trees, shrubs, flowers, or garden beds can completely transform your outdoor space—but success doesn’t start with planting. It begins with proper yard preparation. Many homeowners rush into planting without preparing the soil, layout, or drainage, which leads to weak plant growth, poor drainage, and costly rework later.
If you want healthy plants that thrive for years, learning how to prepare your yard for new planting is essential. Whether you’re installing landscape plants, starting a garden, or refreshing your yard, proper preparation lays the foundation for long-term success.
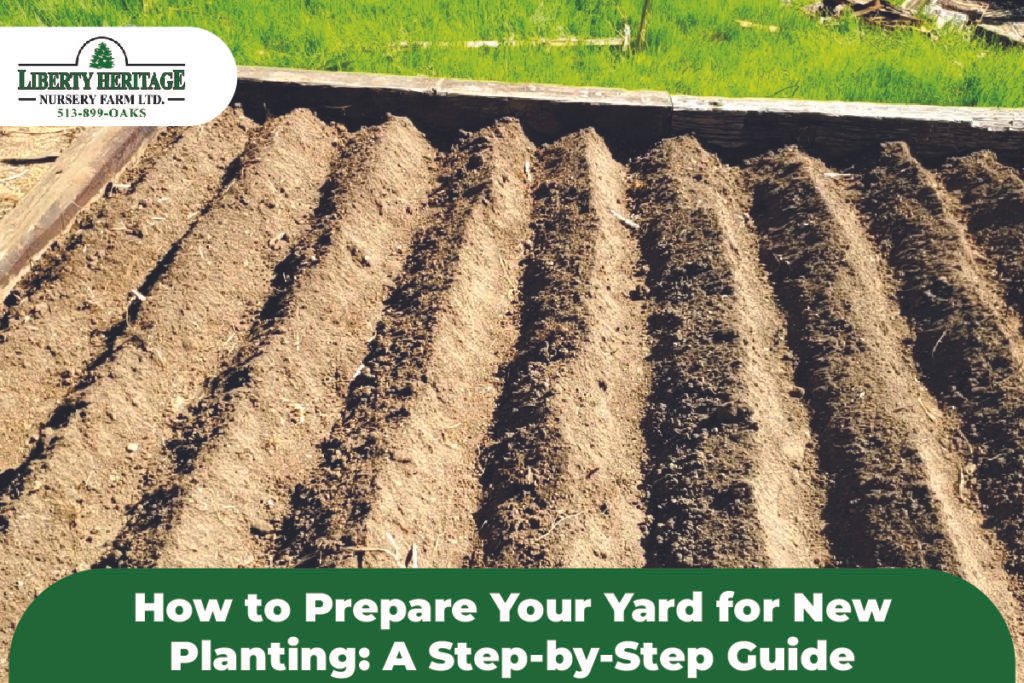
This step-by-step guide walks you through everything you need to do before planting, helping you avoid common mistakes and achieve the best possible results.
Step 1: Decide What You Want to Plant
Before touching the soil, clearly define your planting goals. Yard preparation differs depending on what you plan to install.
Common Planting Goals:
- Trees and shrubs
- Flowerbeds
- Vegetable gardens
- Perennial landscapes
- Mixed ornamental plants
Each option requires different soil depth, spacing, and layout considerations. For example, trees need deep soil preparation, while flower beds require broad, well-amended soil zones.
Step 2: Assess Your Yard Conditions
Measure and Map Your Yard
Creating a simple yard map helps prevent layout problems later. Measure your yard and mark:
- Existing trees and structures
- Slopes and uneven areas
- Walkways and utility access points
A basic sketch helps visualize plant spacing and prevents overcrowding.
Observe Sunlight Patterns
Sun exposure directly affects plant health.
- Full sun: 6–8 hours of direct sunlight
- Partial shade: 3–6 hours
- Full shade: Less than 3 hours
Observe your yard throughout the day and note shaded and sunny areas. Planting sun-loving plants in shaded areas is a common cause of failure.
Check Drainage and Water Flow
After rainfall, walk your yard and observe:
- Where water pools
- Areas that stay soggy
- Natural drainage paths
Poor drainage should be corrected before planting, not after plants struggle or die.
Step 3: Clear the Area for Planting
Remove Existing Grass and Weeds
Grass and weeds compete for nutrients and water. Clearing them ensures new plants have the best chance to establish.
Methods include:
- Manual removal with a shovel
- Sod cutters for large areas
- Sheet mulching (cardboard + mulch)
Avoid simply planting over grass—it will grow back.
Remove Debris, Rocks, and Old Roots
Clear out:
- Rocks and construction debris
- Dead roots and stumps
- Old mulch buildup
Clean soil allows roots to spread freely and absorb nutrients efficiently.
Step 4: Test and Prepare the Soil
Soil preparation is the most crucial step in yard preparation for planting.
Test Your Soil
A soil test reveals:
- pH level
- Nutrient deficiencies
- Organic matter content
Most plants prefer slightly acidic to neutral soil. Adjustments can be made before planting to avoid problems later.
Improve Soil with Organic Matter
Adding organic matter improves:
- Drainage
- Moisture retention
- Nutrient availability
Common soil amendments include:
- Compost
- Topsoil
- Aged manure
Mix amendments 6–12 inches deep, depending on plant type.
Loosen Compacted Soil
Compacted soil restricts root growth and water flow.
Ways to loosen soil:
- Garden fork
- Rototiller
- Core aerator
Loosening soil encourages deeper root development and healthier plants.
Step 5: Level and Grade the Area
Uneven soil can cause:
- Water pooling
- Root rot
- Erosion
Use a rake to smooth the surface and create gentle slopes away from structures. Avoid low spots where water collects.
Proper grading ensures long-term plant health and prevents drainage issues.
Step 6: Plan Your Layout Before Planting
Create a Final Planting Layout
Before planting anything, mark:
- Plant locations
- Spacing between plants
- Bed edges and walkways
Use spray paint, flags, or stakes to visualize placement.
Consider Mature Plant Size
Many homeowners plant too closely because plants look small initially.
Always consider:
- Mature width and height
- Root spread
- Clearance from structures
This prevents overcrowding and reduces future maintenance.
Step 7: Control Weeds Before Planting
Weed control is easier before plants are installed.
Options include:
- Landscape fabric for beds
- Organic mulch barriers
- Pre-emergent weed control
Avoid chemical treatments that may affect young plants.
Step 8: Set Up Watering and Irrigation
The watering setup should be planned before planting begins.
Common Watering Options:
- Garden hoses
- Soaker hoses
- Drip irrigation systems
Test your watering system to ensure even coverage. Consistent watering is crucial during the first few weeks after planting.
Step 9: Apply Mulch or Protective Cover
Mulch helps:
- Retain moisture
- Regulate soil temperature
- Suppress weeds
Apply 2–3 inches of mulch, keeping it a few inches away from plant stems or trunks.
Organic mulches, such as wood chips or bark, break down over time and improve soil health.
Step 10: Final Inspection Before Planting
Before planting:
- Walk the entire area
- Double-check spacing
- Confirm drainage paths
- Ensure soil is evenly amended.
Making adjustments now saves time and prevents plant loss later.
Printable Yard Preparation Checklist
✔ Decide what to plant
✔ Measure and map the yard
✔ Observe sun and drainage
✔ Clear grass and debris
✔ Test and amend soil
✔ Level and grade surface
✔ Plan layout and spacing
✔ Install weed control
✔ Set up watering system
✔ Apply mulch
Conclusion
Learning how to prepare your yard for new planting is the key to creating a landscape that thrives—not just survives. Proper planning, soil preparation, drainage correction, and layout design ensure your plants grow stronger, require less maintenance, and last longer.
Whether you’re installing a small garden bed or redesigning your entire yard, taking the time to prepare correctly saves money and frustration in the long run. A well-prepared yard sets the stage for successful planting and long-term beauty.
FAQs
Ans: Start by clearing the area, testing and amending the soil, planning the layout and spacing, correcting drainage, and establishing watering before planting.
Ans: Most plants thrive in soil enriched with compost or organic matter. A soil test helps determine the best amendments.
Ans: Flower beds typically need 6–8 inches, shrubs 12 inches, and trees up to 18 inches of prepared soil.
Ans: Mulch should be applied after planting to help retain moisture and suppress weeds.Ans:
Ans: Proper preparation improves root development, prevents drainage issues, reduces weed growth, and ensures long-term plant health.